How to Render in Blender: A Beginner's Guide to Your First Still Image
Overview
Introduction
If you've built a scene in Blender and you're staring at the viewport wondering how to turn it into a finished image, this is that guide. We see this a lot: someone follows a modeling tutorial, adds materials and lights, then hits a wall - the viewport looks fine, but how do you actually get a picture file out of it?
This guide covers exactly one thing: producing a single rendered still image from a Blender scene, start to finish. It doesn't cover animations (frame ranges, output sequences) or fine-tuning render settings for speed and quality - those are separate guides, linked below where relevant. Here, we're just getting you from "I have a scene" to "I have an image file."
Finding the Render Button
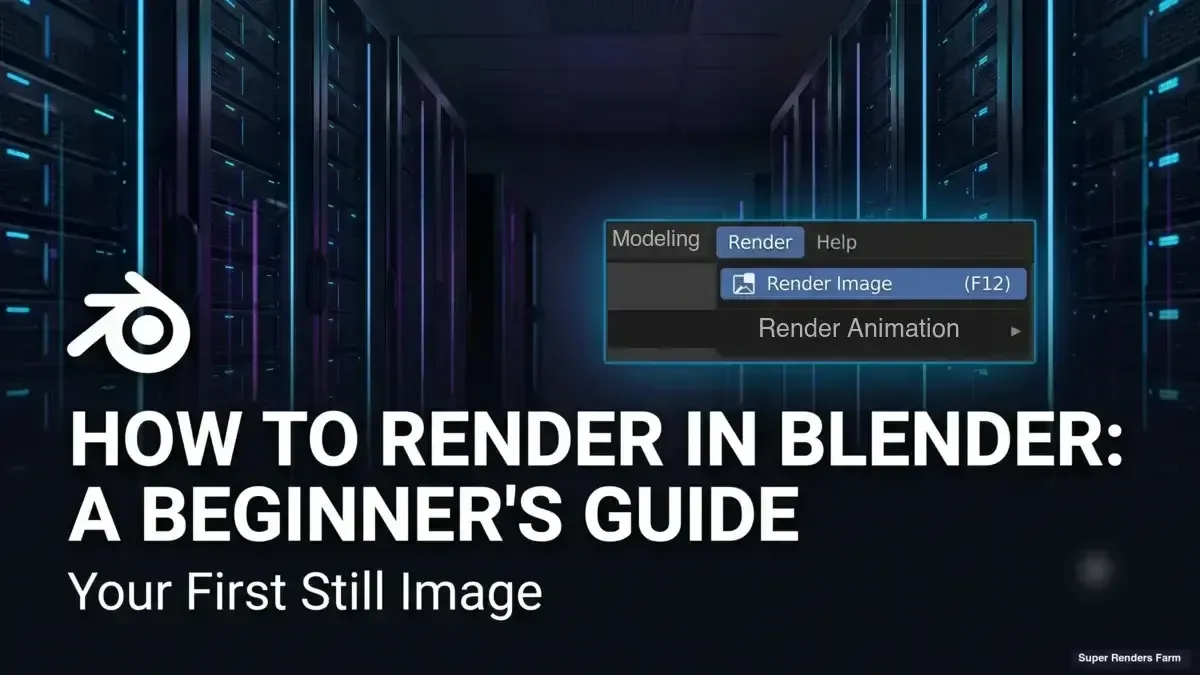
Blender's render command lives in two places. At the top of the screen there's a Render menu - click it and you'll see Render Image. Faster: the keyboard shortcut F12. Both are documented in Blender's official manual.
Both do the same thing: Blender looks through the active camera, calculates the final image using your current engine and settings, and opens a new Render Result window to show it. Nothing is written to disk automatically - the render just appears in that temporary window, ready to look at or save.
If F12 doesn't seem to do anything, check your scene has a camera and that it's the active one - select it and press Ctrl+Numpad 0, or use View > Cameras > Set Active Object as Camera.
Cycles vs EEVEE: What Are You Actually Rendering With
Before you render, Blender is already using one of three built-in render engines, set in the Render Properties tab (camera-back icon): EEVEE, Cycles, and Workbench. Workbench is meant for fast viewport-style previews while you're modeling and laying out a scene, not for a finished image - so for a first real still, the practical choice is between EEVEE and Cycles. For a first render, you just need to know what each one IS - not how to tune it.
Cycles is a physically-based path tracer - it simulates how light actually bounces around a scene, off surfaces, through glass, into shadows. That makes it accurate but computationally heavy: renders take longer because it's calculating real physics, not approximating.
EEVEE is a real-time engine, closer to what runs in a video game. It renders fast because it takes shortcuts - approximating reflections, shadows, and light bounces instead of simulating them. For most scenes it still looks convincing, in a fraction of the time.
For your first still image, either engine works - the practical difference is how long F12 takes, and how materials like glass or metal look (Cycles handles those more convincingly by default). We're not covering samples, denoising, or performance tuning here - once you know which engine you're using and want to speed it up or push quality further, our render settings guide covers that in depth.
The Output Properties Panel
The Output Properties tab (the printer icon in the Properties panel) controls two things that matter for getting an actual file out of Blender: what format the image saves as, and how big it is.
Resolution X / Y at the top sets the pixel dimensions of your final render - that's what F12 actually renders at, not whatever size your viewport window happens to be. A percentage slider sits just below it; dropping it to 50% is a common way to get a quick low-res preview before committing to full size.
File format, further down the panel, sets what kind of file you'll end up with. PNG is the default and a safe first choice - it's lossless, and it can save a transparent background, but not automatically: you need to turn on Film > Transparent in the Render Properties tab, and switch this panel's Color setting from RGB to RGBA. Skip either of those and PNG renders with Blender's default background color instead. JPEG is smaller but compresses the image and can't hold transparency at all. For a single test render, format mostly comes down to transparency vs file size.
One thing that trips people up: pressing F12 does not save a file by itself, and there's no setting that makes a single still auto-save - the Output Path field (below the Format section in this same panel) only kicks in for animation renders (Ctrl+F12), where Blender writes every frame to that path automatically. For a one-off still, the Render Result window is the only copy that exists until you save it yourself: go to Image > Save As inside that window and choose where to put it.
Viewport Preview vs Pressing Render
Blender's viewport has a shading mode called Rendered - the sphere icon on the far right of the shading row at the top of the 3D viewport (or via the Z pie menu). Switching into it shows a live, continuously-updating approximation of what your engine would produce, as you orbit, pan, and adjust lights.
It's genuinely useful for checking materials and lighting as you work, but it isn't a render. Rendered shading mode is tied to your viewport's current resolution and angle, and it keeps refreshing as you move - a working preview, not a finished output.
Pressing F12 is different: it renders at your actual output resolution, strictly from the active camera's point of view, producing one fixed, final image that won't change until you render again. If Rendered shading mode looks good but your F12 render looks off, the usual culprit is camera framing - check through the camera view (Numpad 0) to confirm they match.
Where This Leaves You
At this point you should be able to open a scene, pick an engine, set your output resolution and format, hit F12, and save an actual image file. That's the full loop for a single still.
If what you actually need is a sequence of frames instead of one image - an animation, a turntable, anything with motion - that's a different pipeline, covered in our animation rendering guide. Once you're comfortable with the basics here and want faster renders or better quality (samples, denoising, GPU vs CPU), our render settings guide picks up where this one stops.
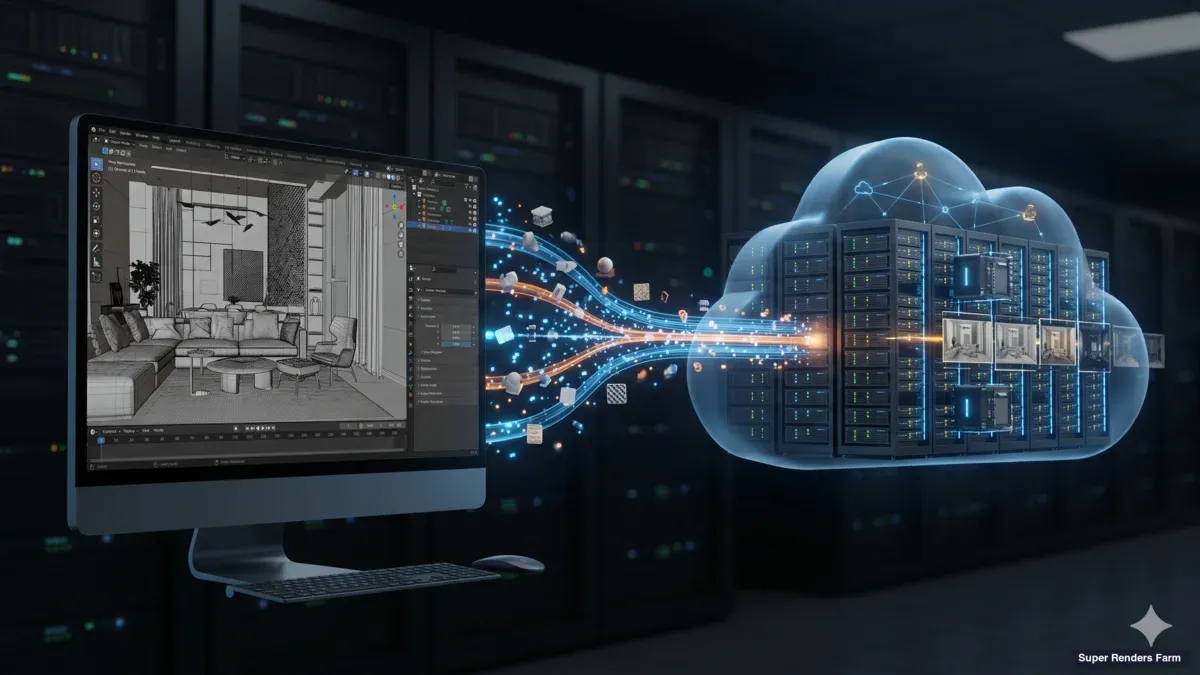
One thing we've noticed with people past this stage: a single test render on a laptop is one thing, but once you're rendering real project frames instead of test stills, local hardware becomes the actual bottleneck - especially with Cycles on a complex scene. That's a separate problem from this guide, but it's worth knowing cloud rendering exists once you get there, including dedicated render servers for heavier, ongoing workloads.
FAQ
Q: Why does pressing F12 open a new window instead of just saving a file? A: Blender separates rendering from saving on purpose - it lets you inspect the result and compare against a previous render before deciding to keep it. For a single still, save explicitly via Image > Save As in that window - there's no auto-save option for F12 renders. The Output Path setting only writes automatically when you render an animation (Ctrl+F12), not a one-off still.
Q: My render looks nothing like what I see in the viewport. What's wrong? A: The most common cause is camera framing - the viewport shows whatever angle you're currently looking from, but F12 always renders from the active camera. Press Numpad 0 to look through the camera and confirm it's pointed where you expect.
Q: Do I need to pick Cycles or EEVEE before I start modeling? A: No - the engine choice only affects how the scene is rendered, not how you build it. You can switch engines in Render Properties at any point and re-render to compare.
Q: What resolution should I use for my first render? A: There's no fixed rule, but 1920x1080 is a common starting point since it matches standard screens. Lower it while you're testing framing and lighting, then raise it for your final output.
Q: Why is my render taking a long time to finish? A: For a beginner-level scene, a slow render is usually the engine (Cycles is slower than EEVEE by design) or a high resolution/sample count. This guide only covers getting a render out - if speed becomes the problem, our render settings guide has the tuning detail.
Q: Can I close the Render Result window while it's still calculating? A: Yes - closing the window (or pressing Escape) stops the render before it finishes; there's no way to have it keep computing in the background while you do something else in Blender. Leave the window open (it can be minimized) until the render completes.
Q: PNG or JPEG for my first test render? A: PNG is the safer default - it's lossless and can hold a transparent background if you turn on Film > Transparent and set Color to RGBA first. JPEG produces smaller files but compresses the image (and can't do transparency at all), which can show artifacts on renders with fine gradients or noise.
About Alice Harper
Blender and V-Ray specialist. Passionate about optimizing render workflows, sharing tips, and educating the 3D community to achieve photorealistic results faster.