What Is Motion Blur? How Shutter Time Shapes 3D Renders and Render Times
Overview
Introduction
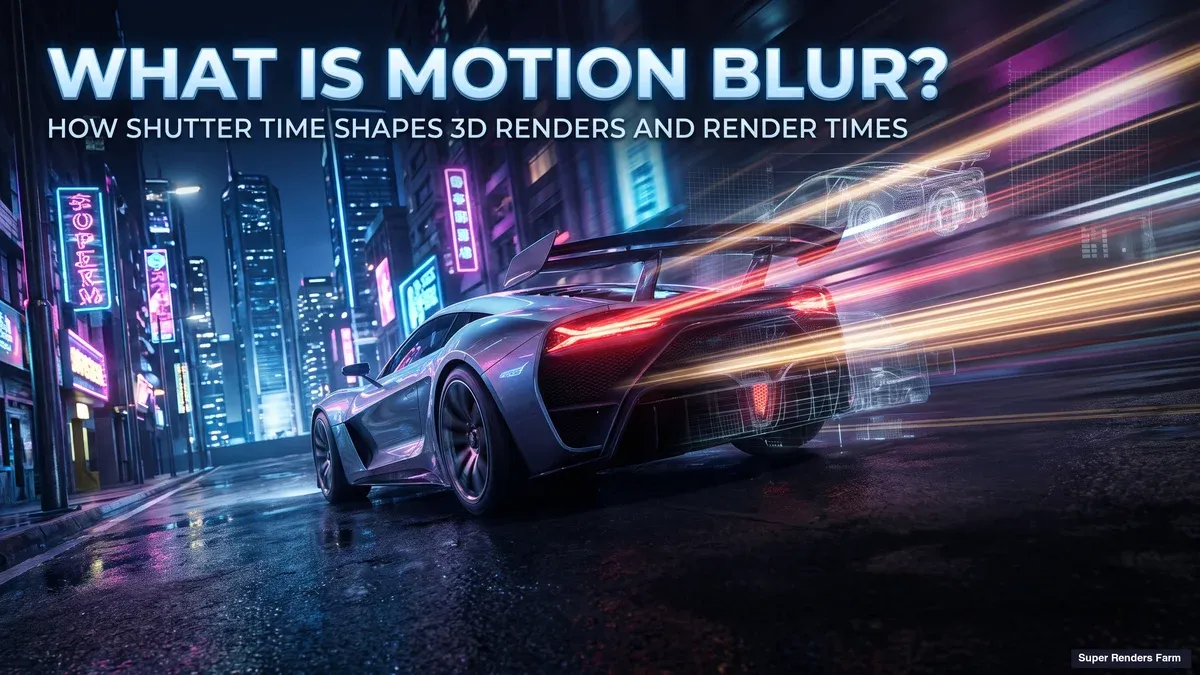
What is motion blur? It is the smear a moving object leaves in an image because it did not hold still while the picture was being taken. A camera does not capture an instant. It records light for as long as the shutter is open, and anything that travels during that time is drawn as a streak instead of a sharp shape. Photographers use it to show speed; film uses it so that 24 separate pictures per second read as smooth movement.
A 3D renderer has no shutter and no exposure, so it has to fake all of this. The practical questions follow: how much blur should a shot have, what does it cost in noise, memory and render time, and is it smarter to add it afterwards in compositing? This guide answers those questions at the level of concepts that hold across Arnold, V-Ray, Redshift, Cycles and Karma, and points to each vendor's documentation for exact setting names.
What Motion Blur Is, Physically
A camera sensor or a strip of film collects light over the exposure time, which is set by the shutter. If a car moves across the frame while the shutter is open, each point on the car lights up a line of pixels instead of one spot. Short exposures freeze the car. Long exposures smear it. Panning with the car does the opposite: the car stays sharp and the background streaks.
Blur is not a defect to remove from animation and film. Footage shot with very short exposures looks strobing, because each frame is a crisp still and the eye sees jumps. Natural blur fills the gap between positions. That is why CG animation adds blur on purpose: a virtual camera captures discrete moments, so without it the motion looks choppy.
Shutter Angle and Exposure Time
Film cameras traditionally used a rotating disc with an adjustable opening, and the size of that opening is the shutter angle. The angle is a fraction of a full 360 degree turn, and the same fraction applies to the frame interval:
exposure time = shutter angle / 360 x frame interval
At 24 frames per second the frame interval is 1/24 of a second, so a 180 degree shutter exposes for 1/48 of a second. That is the usual starting point for natural-looking film motion. A 90 degree shutter gives crisper, choppier motion, and a 360 degree shutter, open for the whole frame interval, gives the longest streaks.
 Shutter angle versus exposure at 24 fps: 360 degrees exposes for 1/24 s, 180 degrees for 1/48 s and 90 degrees for 1/96 s, with shorter blur streaks for smaller angles
| Shutter angle | Exposure at 24 fps | Look |
|---|---|---|
| 360 degrees | 1/24 s | Longest streaks, soft |
| 180 degrees | 1/48 s | The conventional film look |
| 90 degrees | 1/96 s | Shorter streaks, crisper, choppier |
Render engines expose the same idea in different units. Redshift's documentation describes a movie shutter entered as an angle from 0 to 360 degrees tied to the frame rate, with values above 360 allowed for stronger blur, and a custom mode with start and end values inside the frame (Maxon Redshift documentation, Motion Blur - Production, read 19 November 2026). Blender's Cycles uses a Shutter value measured in frames, where 1.0 spreads the blur over one full frame, plus a Position setting that decides whether the shutter starts opening on the frame, is centered on it or is closed by it (Blender Cycles manual, Motion Blur, read 19 November 2026). Different names, same two decisions: how long is the shutter open, and when inside the frame does it open.
How a 3D Renderer Simulates Motion Blur
A path tracer fires rays through each pixel and averages the results. To get motion blur, it gives each ray a time inside the shutter interval as well as a position. One ray sees the scene at the instant the shutter opens, another a little later, another near the end. The renderer works out where every moving object, and the camera, is at that moment and traces the ray against that version of the scene. Averaged together, a moving edge partly covers the pixel in many of the rays and the result is a smooth streak.
Two consequences follow. First, the renderer needs to know where things are between frames. Animation stores positions at frame boundaries, so the engine gets extra positions at sub-frame times, called motion samples, motion steps or keys depending on the software, and assumes straight-line movement between them. Second, motion blur is another source of variation to average out. A pixel crossed by a fast edge has a wider spread of values to converge on than a pixel looking at a static wall, so it needs more samples before the noise disappears.
Transformation Blur and Deformation Blur
There are two kinds of movement to blur, and they have very different prices.
Transformation blur covers rigid motion: an object translating, rotating or scaling as a whole, or the camera itself. The renderer only needs the transform at the start and end of the shutter, and optionally in between. SideFX's Karma documentation notes that transform blur is cheap to compute but cannot capture surface deformation (SideFX Karma user guide, Motion Blur, read 19 November 2026).
Deformation blur covers an object whose shape changes during the shutter: a bending arm, cloth, a fluid surface, grass in wind. One matrix cannot describe that, so the renderer needs vertex positions at each sample time, which means several versions of the geometry in memory. The Karma guide states that each extra geometry sample keeps another copy of the geometry in memory and recommends the fewest samples that look smooth. Redshift's documentation agrees from the other side: deformation blur is off by default, more steps use more memory, and it is memory-intensive on high-poly or displaced geometry.
Deformation blur also needs clean data. In Karma the point count must stay constant between samples; particles and simulations whose topology changes use velocity blur instead, which interpolates from stored velocities and avoids extra geometry copies. Blender's manual warns that Cycles needs particle and physics simulations baked before rendering, or the blur may be inaccurate.
Why Fast Rotation Needs More Samples
Because renderers assume straight-line motion between samples, two samples are fine for a car driving past but wrong for something that spins. Chaos's V-Ray documentation says so about its Geometry samples setting: V-Ray assumes objects move in a straight line between samples, so fast-rotating objects need a higher value, and the count can be set per object, for example many samples for a car's wheels and few for the body (V-Ray for 3ds Max, Camera, read 19 November 2026).
 Why fast rotation needs more transform samples: with two samples the blade tip is blurred along one straight segment, with five samples it follows four short segments close to the true arc
The diagram shows why. A propeller blade sweeps an arc during the shutter interval. With two samples, the blur is drawn along the chord between the two tip positions, which cuts across the arc and shortens the blade mid-streak. With five samples the path follows the arc closely. Karma's guide makes the same point: USD and Hydra interpolate linearly, so spinning objects may need extra authored samples. Spend samples on non-linear motion such as rotors, wheels and whips.
Camera Blur, Object Blur and a Common Confusion
Moving the camera blurs everything not locked to it. A fast pan across a static interior blurs every object even though none of them move, and it is usually the most expensive case because it affects the whole image at once. Object motion blur affects only what moves relative to the camera, and most engines let you control it per object: Cycles stores motion blur settings per object, and Karma sets them per primitive through its Render Geometry Settings LOP. That is the most direct way to manage cost: blur the fast hero object, not the slow background. Cycles also documents two limits: camera motion blur does not work with orthographic cameras, and motion blur ignores the movement of lights.
Rolling shutter, the skew from a sensor that reads the image line by line, is a separate effect that Cycles offers as its own option. Switch it on only when matching footage that has it.
Why Motion Blur Raises Render Time
Motion blur costs three things, and which one hurts depends on the scene.
Noise, and the samples to remove it. A moving edge adds variation to every pixel it crosses. Fast motion, long shutters and a moving camera all increase it.
Memory. Each extra geometry sample is another copy of the geometry. A hypothetical example, for illustration only and not a measurement: if a deforming character and its environment come to 6 GB of geometry, three deformation samples keep roughly three copies, about 18 GB. On a CPU machine that may only mean needing more RAM. On a GPU the same figure has to fit in the card's own memory, which is a hard limit rather than a slowdown.
Time to prepare each frame. Sub-frame samples mean the scene is evaluated at those times too. SideFX notes that animated nodes can be expensive to cook every frame and recommends caching them. Chaos adds that excessively high geometry-sample values also lengthen render times.
The cost is multiplied by frame count, which is why it matters more in animation than in stills. Another hypothetical: a 240-frame shot (ten seconds at 24 fps) where deformation blur adds six minutes per frame costs 24 extra machine-hours. The wider set of time savers that come before blur, such as sampling and scene clean-up, is in our render time optimization guide.
Vector Blur: Adding It in Compositing
The alternative is to render the frame sharp and blur it afterwards. The renderer writes a motion vector pass, an image channel storing for each pixel how far and in which direction that point moves on screen, and a compositing tool smears each pixel along its vector. It is fast, it can be re-run in seconds, and the amount can change without re-rendering. How motion vectors and other utility passes are produced and used is in our guide to what AOVs are in rendering.
Two limits matter. First, the beauty image has to be rendered sharp: Redshift's documentation says that enabling a Motion Vector AOV automatically turns off Redshift's own motion blur in the beauty render, because blur would be undesirable in that pass. Second, a 2D blur can only work with the pixels it has. Each pixel carries one vector, so it cannot reveal what was behind a moving object, cannot describe two objects overlapping at one pixel, and cannot follow motion seen through glass or in a reflection, where the pixel belongs to the glass or mirror and not to the thing moving behind it. It also smears in straight lines, so a spinning blade is drawn sideways instead of along its arc. For where comp work sits in a production pipeline, see our guide to VFX compositing and cloud rendering.
Render It or Fake It: Choosing Where Blur Comes From
 Decision flow: render motion blur in 3D when there is fast spin, deforming geometry or blur through glass; otherwise render sharp with a motion vector pass if blur will be re-timed in comp; else compare both on one test frame
The decision comes down to what the shot contains and who will need to change it later.
| Situation | Usually better | Why |
|---|---|---|
| Propellers, wheels, turbines | Render in 3D | Vector blur smears in a straight line, 3D blur follows the arc |
| Deforming characters, cloth, fast hair | Render in 3D | The movement happens inside the object and overlaps itself |
| Motion behind glass or in reflections | Render in 3D | The vector belongs to the surface, not to what is seen through it |
| Fast camera move over a detailed scene | Either | 3D is more accurate; comp is far cheaper if the scene is slow to render |
| Moderate movement across clean backgrounds | Comp | Vector blur is usually convincing and trivially adjustable |
| Blur amount likely to change after review | Comp | Change it in seconds without re-rendering frames |
These are rules of thumb, not laws. A hybrid is often the sensible compromise: render blur in 3D for the hard parts of a shot and add vector blur to the simple elements. Whichever route you take, test one demanding frame first and check the edges of fast objects, overlaps and anything seen through glass.
A Settings Checklist Before You Render a Sequence
- Pick the shutter on purpose. Start from 180 degrees (0.5 frames) for film-like motion, go shorter for crisper action, and match the plate when compositing onto live action.
- Turn deformation blur on only where objects deform. Rigid and static objects need transformation blur at most.
- Raise samples only for non-linear motion. Rotors and whips get more; slow straight movement does not.
- Cache simulations and animation first. Particles, cloth and fluids should be baked or cached so every machine sees identical sub-frame data.
- Test the worst frame with the blur on. Pick the frame with the quickest movement, not the first, and watch memory as well as time.
Rendering Motion Blur Frames on Our Farm
Motion blur is computed inside each frame, so frames stay independent and distribute across machines like any other animation frames; what changes is the per-frame cost.
Super Renders Farm is a fully managed farm: you upload the scene and do not set up machines, install software or manage render licenses yourself. Arnold, V-Ray, Redshift, Cycles and Karma are among the engines we run. Some host and engine pairs, for example V-Ray or Octane for Blender, are provisioned on request, so contact us to confirm before you upload a scene that depends on one. GPU jobs run on nodes with two RTX 5090 cards, each with 32 GB of VRAM; memory is per card and is not pooled, so the geometry copies from deformation blur have to fit within 32 GB on one card. New accounts receive $25 free render credits, enough to render test frames of a heavy shot. Our pricing page shows how rendering time is billed, and our team is on 24/7 live chat for a second opinion on a scene before it goes up.
Summary
The decisions that matter are the shutter angle, the motion sample count, whether deformation blur is needed, and whether the blur belongs in the render or in comp. Transformation blur is cheap, deformation blur costs memory, and vector blur in comp is quick but cannot solve rotation, overlap or motion behind glass.
FAQ
Q: What is motion blur in simple terms? A: Motion blur is the streak a moving object leaves in an image because it moved while the shutter was open. A camera records light over the exposure time, not an instant, so anything that travels during that time is smeared along its path. In 3D rendering the effect is simulated by sampling the scene at several moments inside the shutter interval and averaging the results.
Q: What is a 180 degree shutter in 3D rendering? A: A 180 degree shutter keeps the shutter open for half of each frame interval. At 24 frames per second that is an exposure of 1/48 of a second, the conventional setting for natural film motion. Many engines express the same idea as a shutter length of 0.5 frames.
Q: What is the difference between transformation and deformation motion blur? A: Transformation blur follows rigid movement of a whole object, light or camera and is cheap to compute. Deformation blur follows changes in an object's shape, such as a bending arm or moving cloth, and needs several copies of the geometry at sub-frame times, which uses more memory. Redshift, for one, leaves deformation blur off by default for that reason.
Q: Does motion blur increase render time? A: Usually yes. Moving edges add variation to each pixel, so more samples are needed to remove noise, extra geometry samples take memory, and the scene has to be evaluated at sub-frame times. Fast motion, long shutters, a moving camera and deformation blur all raise the cost. The increase depends on the scene, so test your most demanding frame.
Q: Should I render motion blur in 3D or add it in compositing? A: Render it in 3D when the shot has fast rotation, heavy deformation, or movement seen through glass or reflections, because a 2D vector blur cannot reproduce those. Add it in compositing when the motion is moderate and simple or when the amount of blur may change after review, since a vector pass lets you adjust it without re-rendering. Many shots use both.
Q: What is motion blur in games, and is it the same as in a render? A: Real-time games use cheaper screen-space effects, based on camera movement or per-object velocity buffers, because each frame has a tiny time budget. Pre-rendered CGI can sample many moments per frame, so its blur is more accurate. The goal is the same; the method and cost differ.
Q: Why is my motion blur missing or wrong? A: Common causes are deformation blur switched off, too few samples for a fast rotating object, simulations that were not baked or cached, an orthographic camera in Cycles, and a motion vector pass enabled in Redshift, which disables blur in the beauty image. In Karma, check that the stage carries enough time samples across the shutter interval.
About Thierry Marc
3D Rendering Expert with over 10 years of experience in the industry. Specialized in Maya, Arnold, and high-end technical workflows for film and advertising.