What Is a Normal Map? How Normal Maps Fake Surface Detail in 3D Renders
Overview
Introduction
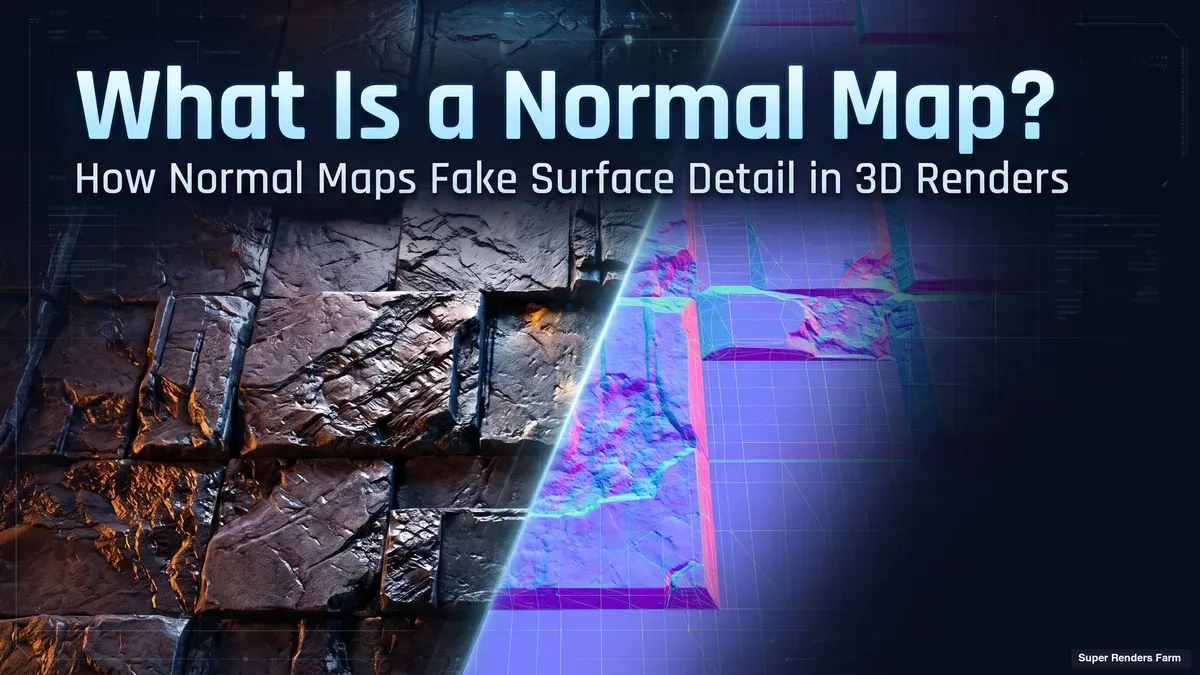
What is a normal map? A normal map is an image that stores a surface direction in every pixel, so a renderer can light a flat surface as if it had bumps, grooves and fine detail without adding any geometry. Leather grain, brick joints, stitching and scratches on a metal panel are all commonly faked this way, because modelling every pore as real polygons would make the scene unmanageable.
This guide explains what the pixels in a normal map actually mean, how tangent-space and object-space maps differ, and how a normal map compares with a bump map and with true displacement. It then covers the part that matters for render time: displacement turns a texture into real triangles, and those triangles cost memory and minutes per frame, while a normal map costs almost nothing. We stay in offline rendering and look development here; real-time game-engine setup is a different workflow and is not covered.
 Normal map colour encodes direction: a normal leaning left, straight out and leaning right, with the matching RGB values
What a Normal Map Actually Stores
Every surface point has a normal: a direction, as a vector of length one, pointing straight out of the surface. Shading depends on the angle between that direction and the light, which is why a surface facing a lamp looks bright and one turned away looks dark. A normal map replaces the real, smooth normal of a flat polygon with a different, stored one, so the surface is lit as though it were bumpy.
The stored direction is written as colour. According to the Wikipedia article on normal mapping (read 19 November 2026), the red, green and blue channels hold the X, Y and Z components of the normal. Each component runs from -1 to 1, and the image stores it remapped to the 0 to 255 range. A normal pointing straight out of the surface works out to roughly (128, 128, 255), the light blue-purple that dominates most normal maps. A normal leaning toward +X pushes red above 128; one leaning toward -X pulls it below. Green does the same for the Y direction. The diagram above shows the three X cases with their values.
A normal map is data, not a picture: the colours do not describe how the surface looks, only which way each point should face when the shader runs.
The same Wikipedia article credits James Blinn with describing the perturbation of surface normals in 1978 and places the idea of storing normals in a texture in 1998 research by Cohen and colleagues. A common way to make a map today is to bake detail from a high-polygon model or a height map onto a low-polygon mesh.
Tangent Space vs Object Space
Normal maps differ in which coordinate system the colours refer to. The Blender manual's Normal Map node page (read 19 November 2026) lists three: tangent, object and world space.
| Space | Directions are measured against | Reuse and animation |
|---|---|---|
| Tangent space | The surface itself, using the mesh's UV layout | Works on moving and deforming meshes, and one map can be reused on other models |
| Object space | Fixed axes of the object | Stays attached to the object under transformations, but is tied to that one model |
| World space | Fixed axes of the scene | Does not follow the object when it moves |
The Blender manual states that tangent-space maps are the most common because they support object transformation and mesh deformation, which matches the Wikipedia description of tangent-space maps being reusable across models. Two practical consequences follow. First, a tangent-space map only makes sense against the UV layout and tangent directions it was baked with, so changing the UVs after baking changes how the map reads. Second, Blender's manual notes that the image should be set to Non-Color for tangent-space normal maps: the pixels are vectors, so they must not go through the colour transforms that photographs and albedo textures get.
There is also a convention difference that catches people out. Normal maps exist in an OpenGL style, where the green channel points up, and a DirectX style, where it points down. Different tools write one or the other, so a map baked in one application can arrive in the opposite convention. If a map from another tool looks inside-out, with grooves that read as ridges, a flipped green channel is the first thing to check.
Normal Map vs Bump Map vs Displacement
Three techniques fake or create the same kind of detail, and they are often mixed up. They differ in what they store and in what they change.
A bump map is a greyscale height image. The renderer does not move anything: it samples the height around the shading point and works out a tilted normal from the slope. The Blender manual's Bump node page (read 19 November 2026) describes exactly that: the node creates a perturbed normal from a height texture. A normal map skips that step and stores the direction directly, which is the format baking tools write when they capture a high-polygon sculpt onto a low-polygon mesh. A displacement map is also a height image, but its job is to actually push the surface: the renderer moves real geometry.
 Normal or bump map keeps the surface flat and tilts the normals, while displacement moves the surface and changes the silhouette, self-shadowing and triangle count
| Normal map | Bump map | Displacement | |
|---|---|---|---|
| What the texture stores | A direction per pixel (RGB) | A height per pixel (grey) | A height per pixel (grey) or a vector |
| Changes geometry | No | No | Yes |
| Silhouette changes | No | No | Yes |
| Self-shadowing from the detail | No | No | Yes |
| Extra render memory | Texture only | Texture only | Texture plus the extra triangles |
The Blender manual's Cycles material settings (read 19 November 2026) spells out the difference in its displacement method options. Bump Only uses a modified normal in the shader: it takes less memory but is only an approximation, silhouettes are not accurate and the detail does not self-shadow. Displacement Only displaces the mesh vertices before rendering, which gives the best result on a finely subdivided mesh and is the most memory-intensive. Displacement and Bump combines them, with displacement shaping a coarser mesh and bump adding the final fine detail. That last option is the usual compromise.
What a Normal Map Cannot Do
A normal map changes how light is shaded, not where the surface is. Everything it cannot do follows from that.
It cannot change the silhouette. Look at a brick wall edge-on, or at the rim of a model with a normal-mapped scale pattern: the outline is still straight, because the polygon edge has not moved. If the outline matters, such as a rope, a gear tooth or a coastline, the detail has to be real geometry.
It does not self-shadow. A deep groove in a real surface throws a shadow into itself. A normal-mapped groove only darkens where its tilted normals face away from the light; no ray is blocked by it. Under raking light, the difference between a faked groove and a real one is visible.
It interacts with translucent materials. On skin, wax or marble, subsurface scattering softens the lighting, so the same normal map reads more gently there. Our explainer on subsurface scattering shows why light that travels inside a surface blurs small bumps. Do not confuse normal maps with ambient occlusion either: occlusion changes how much ambient light a point receives, as covered in our guide to SSAO, HBAO and GTAO, while a normal map changes which direction the shader believes the surface faces.
Render Cost: Normal Mapping vs Displacement
Here is where the choice between the two stops being aesthetic.
A normal map is one extra texture lookup at each shading point. It adds no triangles, so the intersection work the renderer does to find surfaces stays the same, and the only extra memory is the image itself. That is why a 4K normal map on a prop is a low-cost decision.
Displacement is different because the renderer has to create the detail before it can shade it. Autodesk's Arnold displacement documentation (read 19 November 2026) says the subdivision happens at render time, whenever a ray hits the bounding box of the object, and warns that each subdivision iteration quadruples the geometry. Maxon's Redshift tessellation and displacement page (read 19 November 2026) puts the same risk in plain terms: the number of polygons can grow very quickly, and one extra level can make a frame take much longer to render. It also notes that Vertex Displacement requires more memory than Texture Displacement for equivalent quality.
 Arnold subdivision iterations multiply triangles by four each time: 1x, 4x, 16x, 64x and 256x per base triangle
A hypothetical example, for illustration only: a prop with 50,000 triangles that is subdivided uniformly for three iterations becomes 3.2 million triangles (50,000 x 64). At four iterations it is 12.8 million. Adaptive settings can keep the real number lower, but the direction of the curve is the point: each extra level multiplies work and memory, while a normal map stays flat on the cost chart.
Cost shows up in two places. Render time rises because the renderer must generate and intersect far more triangles. Memory rises because the displaced geometry has to be held while the frame renders: system RAM on a CPU engine, VRAM on a GPU engine, which is the tighter limit. The Redshift page calls memory efficiency important for GPUs and says tessellation can be more memory-efficient when combined with view-dependent or adaptive subdivision.
Keeping Displacement Affordable
Spend displacement where the camera can see it.
Use displacement only where silhouette or self-shadowing matters. Cobblestones seen at a low angle need real geometry; a brick wall seen straight on usually does not.
Push the finest detail into bump. Arnold's documentation describes autobump as putting the high frequencies of a displacement map into the bump attribute, so you need fewer subdivision iterations. Redshift's Auto Bump works on the same principle and can allow lower tessellation, although its page warns that Auto Bump may cause artifacts with extreme displacement scales.
Let the subdivision depend on the screen. Redshift's Screen Space Adaptive mode subdivides by edge length measured in pixels, and the page notes that it can also limit subdivision for objects outside the camera frustum, which reduces GPU memory use. A fixed world-space setting cannot do that.
Bake distant displacement into a normal map. For objects that never get close to the camera, a baked normal map gives most of the look at a fraction of the cost. Our render time optimization guide covers geometry density and displacement alongside the other cost levers.
Test the heaviest frame. A frame where the displaced hero object fills the shot costs far more than a wide establishing shot, so render that one at final quality before committing a sequence.
Making and Checking a Normal Map
Maps come from two main sources. Baking projects a high-polygon sculpt onto a low-polygon mesh with clean UVs and writes the difference in surface direction into the image. Converting a height image is how generators produce a map from a photograph or a scan; that estimates direction from brightness, so check the result under raking light before trusting it.
A short checklist avoids most of the trouble:
- Colour space: set tangent-space normal maps as data (Non-Color in Blender), not as colour images.
- Channel convention: confirm whether the map is OpenGL or DirectX style and flip green if the grooves read as ridges.
- UVs and tangents: render against the same UV layout and tangents the map was baked for.
- Strength: most renderers expose a strength value; Blender's Normal Map node shows examples from 0 to 2. Start at 1.
- Flat colour: an untouched area should sit near (128, 128, 255). A map with a different flat colour has a channel or colour-space problem.
Which One Should You Use?
| Situation | Use | Why |
|---|---|---|
| Fine surface texture seen face-on: leather, fabric, brushed metal | Normal map | Low cost; the missing silhouette is not visible |
| Detail baked from a high-poly sculpt onto a game-ready or hero mesh | Normal map | Baking from a sculpt onto a low-polygon mesh writes normal maps directly |
| Subtle micro-roughness from a greyscale texture | Bump map | Simple; no baking step |
| Terrain, cobblestones, rock faces at grazing angles | Displacement, with bump for the fine detail | Silhouette and self-shadowing are visible |
| Close-up hero object with deep grooves | Displacement on a controlled subdivision | A faked groove gives itself away under raking light |
| Background objects far from the camera | Baked normal map | Real geometry would be wasted |
Normal Maps on a Render Farm
A normal map is an ordinary texture file, so the usual farm rules apply: every file has to be reachable from the node that renders the frame, and a missing texture means missing detail. Keep texture paths relative to the project folder, and if a farm render looks flatter than your viewport, a normal map that did not load is one of the first suspects.
Displacement is where farm planning matters. Super Renders Farm is a fully managed farm: you do not install software or manage licences yourself, and render-engine licences are included in the rate. Arnold and V-Ray in their CPU modes render on our CPU nodes, where displacement costs system RAM and time. Redshift renders on our GPU nodes, which carry two RTX 5090 cards per node with 32 GB of VRAM per card; memory is per card and is not pooled, so displaced geometry, textures and everything else in a Redshift scene share one card's 32 GB. Past that point Redshift can move much of that data out of core to system RAM, which slows the frame instead of stopping it; Maxon's tessellation page notes that baked Texture Displacement textures cannot go out of core, and that very high subdivision can exhaust system memory as well. Our article on the RTX 5090 VRAM limit shows how that ceiling plays out in complex scenes. New accounts receive $25 free render credits, so you can render test frames of your heaviest displacement shot and see the real cost before you commit a full sequence. Some engine and host pairs, such as V-Ray or Redshift for Blender, are provisioned on request, so contact us to confirm before you upload. Current rates are on our pricing page.
Summary
A normal map is a vector texture: colour in, direction out. It lights a flat surface like a bumpy one for the price of a texture lookup, but it cannot change a silhouette or cast a shadow into itself. Displacement is the only one of the three techniques that creates real geometry, which is why its cost grows with every subdivision level. Use normal maps for fine detail, spend displacement where the camera sees the shape change, and test your heaviest frame before a long render.
FAQ
Q: What is a normal map in 3D? A: A normal map is an image whose red, green and blue values encode a surface direction (X, Y and Z) for each pixel. The renderer uses that direction instead of the mesh's real one when it calculates lighting, so a flat surface is shaded as if it had bumps and grooves.
Q: Why are normal maps blue and purple? A: Most are tangent-space maps, where a normal pointing straight out of the surface is stored as roughly (128, 128, 255), a light blue-purple. Pixels that lean away from straight-out shift toward other hues, so flat areas stay blue and the detail shows as colour variation.
Q: What is the difference between a normal map and a bump map? A: A bump map is a greyscale height image from which the renderer works out a tilted normal. A normal map stores the direction directly in RGB. Neither moves geometry, so both leave the silhouette unchanged and do not self-shadow.
Q: Does a normal map change the shape of a model? A: No. It only changes how light is calculated on the surface, so the silhouette, the polygon count and the object's self-shadowing stay the same. Displacement is the technique that moves real geometry.
Q: Should I use tangent space or object space normal maps? A: Tangent space is the common choice because it works on animated and deforming meshes and lets a map be reused. Object-space maps are tied to that one mesh and do not survive deformation, so they suit rigid objects where the map will not be reused.
Q: Is displacement slower to render than a normal map? A: Yes, usually by a large margin. A normal map adds a texture lookup; displacement makes the renderer subdivide the mesh into many more triangles, which raises both render time and memory, and the cost grows quickly with each extra subdivision level.
Q: Why does my normal map look inverted in a renderer? A: The usual cause is the green channel convention. OpenGL-style maps point green up and DirectX-style maps point green down, so a map made for one can look inside-out in software that expects the other. Flipping the green channel normally fixes it.
About Thierry Marc
3D Rendering Expert with over 10 years of experience in the industry. Specialized in Maya, Arnold, and high-end technical workflows for film and advertising.