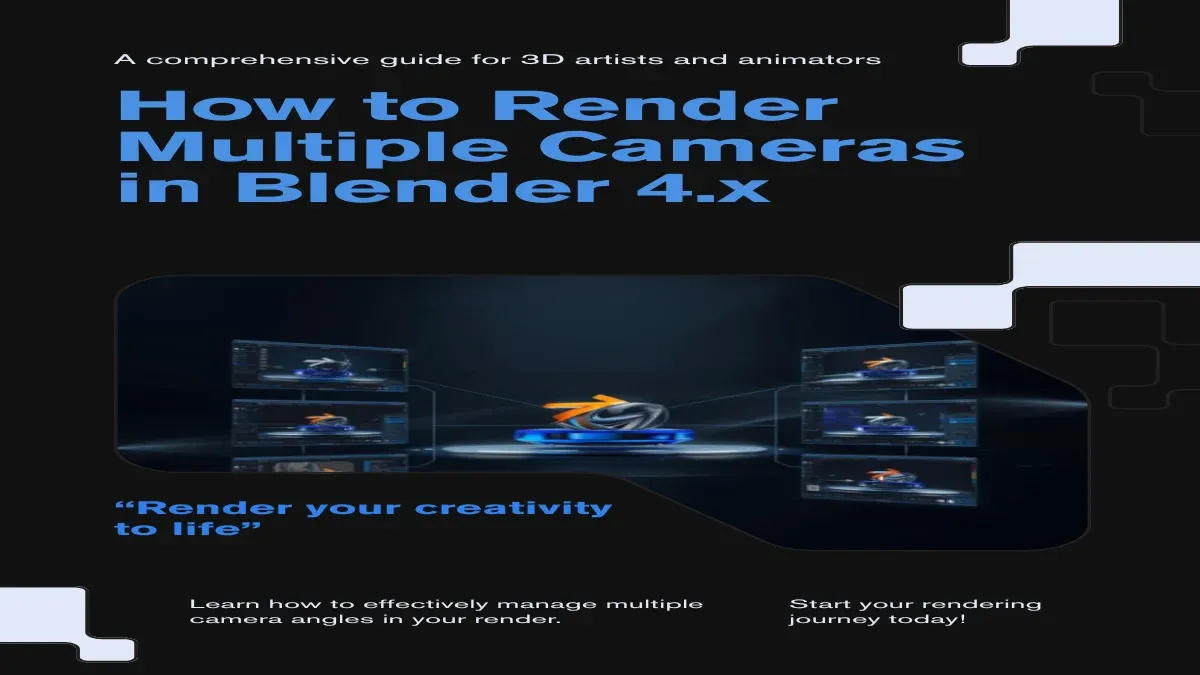
Como Fazer Rendering de Múltiplas Câmaras no Blender 4.x
Visão geral
Por Que Fazer Rendering de Múltiplas Câmaras em Simultâneo?
Nos fluxos de trabalho profissionais, frequentemente é necessário fazer rendering a partir de múltiplos ângulos de câmara. Walkthroughs arquitetónicos exigem 5+ pontos de vista, visualizações de produtos requerem vistas frontal/lateral/superior, e cenas de VFX necessitam de câmaras bloqueadas e ângulos alternativos. Fazer rendering de cada câmara individualmente é tedioso e consome muito tempo. O Blender 4.x oferece vários métodos para fazer rendering de múltiplas câmaras num único lote, economizando tempo e permitindo envios eficientes para render farms.
Gerimos render farms com centenas de tarefas de múltiplas câmaras diariamente. As técnicas neste guia estão otimizadas para velocidade e são suportadas nativamente por render farms em nuvem como a Super Renders Farm. Quer esteja a trabalhar localmente ou a enviar para a farm, estas abordagens irão otimizar o seu fluxo de trabalho de múltiplas câmaras.
Método 1: Rendering de Múltiplas Câmaras Baseado em Cenas
O método mais simples e amigável para a farm é criar cenas separadas para cada câmara. Cada cena partilha a mesma geometria e materiais, mas tem uma câmara ativa diferente. De seguida, faz rendering de todas as cenas em sequência usando um script Python.
Configuração:
- Na sua cena principal (por exemplo, Scene), configure todas as suas câmaras. Posicione-as nos ângulos que necessitar.
- No canto superior direito da viewport, encontre o selector de Cenas (dropdown que mostra «Scene»).
- Clique no + ao lado para criar uma nova cena.
- Selecione Link Objects quando solicitado (isto copia referências de objetos, não os próprios objetos — as edições aplicam-se a todas as cenas).
- Repita para cada câmara (se tem 5 câmaras, crie 5 cenas: Scene, Scene.001, Scene.002, etc.).
- Em cada cena nova, vá a Scene Properties > Camera e defina-a para a câmara correspondente da sua cena principal.
Exemplo:
- Scene: Câmara ativa = Camera_Front
- Scene.001: Câmara ativa = Camera_Side
- Scene.002: Câmara ativa = Camera_Top
- Scene.003: Câmara ativa = Camera_Iso
Como todas as cenas partilham os mesmos objetos, as alterações a materiais ou geometria aplicam-se em toda a parte. Apenas a câmara ativa é diferente.
Fazer Rendering de Todas as Cenas:
Pode fazer rendering de todas as cenas sequencialmente através da consola Python:
import bpy

scenes = bpy.data.scenes
output_folder = "/path/to/output/"

for scene in scenes:
    bpy.context.window.scene = scene
    bpy.context.scene.render.filepath = f"{output_folder}{scene.name}_render.png"
    bpy.ops.render.render(write_still=True)
    print(f"Rendered {scene.name}")
Substitua /path/to/output/ pelo seu diretório de saída real. Este script itera através de todas as cenas, define cada uma como ativa e faz seu rendering para um ficheiro com nome único.
Para a Farm:
Ao enviar para a Super Renders Farm, inclua este script Python e especifique-o como um script de pré-rendering. A farm executá-lo-á automaticamente, fazendo rendering de todas as cenas sem intervenção manual.
Método 2: Vinculação de Câmaras Baseada em Marcadores
Para fluxos de trabalho mais complexos, utilize marcadores de câmara para vincular câmaras específicas a intervalos de fotogramas ou passes de rendering. Este método é útil se deseja câmaras diferentes para intervalos de fotogramas diferentes.
Configuração:
- No Timeline Editor, clique com o botão direito num fotograma e selecione Add Marker.
- Nomeie o marcador com algo descritivo (por exemplo, Camera_Wide_Start).
- Crie marcadores adicionais em números de fotogramas principais (por exemplo, Camera_Close_Start no fotograma 100).
- Para cada marcador, abra as Marker Properties e associe uma câmara a ele.
A vinculação baseada em marcadores é mais complexa do que baseada em cenas e é normalmente utilizada para motion graphics ou sequências animadas onde os cortes de câmara ocorrem em fotogramas específicos.
Script Python para Vinculação de Marcadores:
import bpy

def render_with_markers():
    scene = bpy.context.scene
    markers = scene.timeline_markers
    output_folder = "/path/to/output/"

    for i, marker in enumerate(markers):
        if hasattr(marker, 'camera'):
            scene.camera = marker.camera
            frame_start = marker.frame
            frame_end = markers[i + 1].frame if i + 1 < len(markers) else scene.frame_end

            for frame in range(frame_start, frame_end):
                scene.frame_set(frame)
                scene.render.filepath = f"{output_folder}frame_{frame:04d}.png"
                bpy.ops.render.render(write_still=True)
                print(f"Rendered frame {frame} with {scene.camera.name}")

render_with_markers()
Esta abordagem é menos comum para renderizações de fotogramas únicos e mais útil para sequências animadas. Para a maioria dos trabalhos de múltiplas câmaras, o Método 1 (cenas) é mais simples.
Método 3: Rendering em Lote com Script Python
Para controlo máximo, escreva um script Python que defina explicitamente câmaras, caminhos de saída e configurações de rendering para cada câmara.
Script de Exemplo:
import bpy
import os

output_base = "/path/to/output"
cameras_config = [
    {"name": "Camera_Front", "file": "front_view.png"},
    {"name": "Camera_Side", "file": "side_view.png"},
    {"name": "Camera_Top", "file": "top_view.png"},
    {"name": "Camera_Iso", "file": "isometric_view.png"},
]

scene = bpy.context.scene

for cam_config in cameras_config:
    camera_name = cam_config["name"]
    output_file = os.path.join(output_base, cam_config["file"])

    scene.camera = bpy.data.objects[camera_name]
    scene.render.filepath = output_file
    scene.render.image_settings.file_format = 'PNG'
    scene.render.image_settings.compression = 90

    bpy.ops.render.render(write_still=True)
    print(f"Rendered {camera_name} -> {output_file}")

print("All cameras rendered successfully!")
Este script é explícito e fácil de modificar. Pode ajustar as configurações de rendering por câmara (resolução, amostras, configurações de denoiser) adicionando configuração a cada entrada de câmara.
Avançado: Definições por Câmara:
cameras_config = [
    {
        "name": "Camera_Front",
        "file": "front_view.png",
        "samples": 256,
        "denoiser": True,
        "resolution": (1920, 1080)
    },
    {
        "name": "Camera_Close",
        "file": "close_view.png",
        "samples": 512,
        "denoiser": True,
        "resolution": (4096, 2304)
    },
]

for cam_config in cameras_config:
    scene.camera = bpy.data.objects[cam_config["name"]]
    scene.render.filepath = os.path.join(output_base, cam_config["file"])
    scene.render.resolution_x = cam_config["resolution"][0]
    scene.render.resolution_y = cam_config["resolution"][1]
    scene.cycles.samples = cam_config["samples"]
    scene.cycles.use_denoising = cam_config["denoiser"]

    bpy.ops.render.render(write_still=True)
Isto permite a cada câmara fazer rendering a resoluções ou contagens de amostras diferentes, útil para otimizar tempos de rendering em múltiplos ângulos.
Método 4: Configuração de Nó de Compositor para Saída de Múltiplas Câmaras
Para pipelines mais sofisticados, utilize o Compositor para combinar ou alternar entre câmaras num passe de rendering único.
Configuração:
- Abra o editor Compositor (Shift+F11 ou Window > Toggle Compositor).
- Ative Use Nodes (caixa de verificação no canto superior direito).
- No compositor, adicione um nó Cryptomatte ou ID Mask para isolar renderizações por câmara.
- Alternativamente, utilize Switch Nodes com controladores de número de fotogramas para alternar automaticamente entre saídas de câmara pré-renderizadas.
Exemplo: Comutador de Compositor para Sequência de Múltiplas Câmaras:
- Faça rendering de cada câmara individualmente para uma sequência de fotogramas.
- Importe cada sequência no compositor como nós de Image Sequence.
- Utilize um nó Switch ou Mix com um controlador de número de fotogramas para selecionar qual saída de câmara fazer output baseado no fotograma atual.
- Isto permite que uma tarefa de composição única emita diferentes câmaras em intervalos de fotogramas diferentes sem re-renderizar.
O método de compositor é avançado e normalmente utilizado para trabalho de efeitos ou quando se combinam múltiplos renderings numa saída única. Para renderizações estáticas ou sequências simples de múltiplas câmaras, os Métodos 1–3 são mais práticos.
Método 5: Envio em Lote para Farm com Múltiplas Câmaras
Ao enviar para a Super Renders Farm, aproveite as capacidades de multi-rendering da farm para fazer rendering de todas as câmaras em paralelo.
Preparação:
- Certifique-se de que cada cena tem um nome único e descritivo (por exemplo, Front_View, Side_View).
- Verifique se cada cena tem a câmara ativa correta definida.
- Exporte o seu ficheiro Blender.
Envio:
- Carregue o seu ficheiro .blend no portal de envio da farm.
- Nas Render Settings, selecione Render All Scenes (ou opção equivalente).
- Especifique o formato de saída e diretório.
- Defina o número de nós de rendering. A farm distribuirá cenas em nós disponíveis, fazendo rendering de múltiplas câmaras em paralelo.
Exemplo de Envio para Farm:
- Scene 1 → Node 1 (Camera Front) → Saída: front_view_001.png
- Scene 2 → Node 2 (Camera Side) → Saída: side_view_001.png
- Scene 3 → Node 3 (Camera Top) → Saída: top_view_001.png
Se tem 10 cenas e a farm tem 10+ nós disponíveis, todas as câmaras fazem rendering simultaneamente. Isto é significativamente mais rápido do que rendering local sequencial.
Fluxos de Trabalho Recomendados para Rendering de Múltiplas Câmaras
Utilize Nomenclatura de Ficheiros Consistente:
As saídas de rendering devem estar claramente rotuladas:
project_name_camera_front_001.exr
project_name_camera_side_001.exr
project_name_camera_top_001.exr
Organize Cenas Logicamente:
Nomeie cenas após ângulos de câmara: Front_View, Side_View, Top_View, Isometric, Detail_Close. Evite nomes genéricos como Scene.001 ou RenderScene_v2.
Otimize Resolução por Câmara:
Se fizer rendering para uma farm, pode fazer rendering de cada câmara a diferentes resoluções. Planos amplos podem ser 1920×1080, enquanto planos de detalhe são 4096×2304.
Utilize Cryptomatte ou AOVs para Composição Flexível:
Faça rendering de passes Cryptomatte juntamente com o seu rendering de beleza. Isto permite-lhe isolar objetos por ID em pós-produção sem re-renderizar.
FAQ
O Rendering de Múltiplas Câmaras Aumentará Significativamente o Meu Tempo de Rendering?
Não se enviar para uma farm com nós em paralelo. Se renderizar localmente em sequência, sim — leva aproximadamente N vezes mais tempo para N câmaras. A farm atenua isto ao distribuir cenas entre nós.
Posso Fazer Rendering de Múltiplas Câmaras em Intervalos de Fotogramas Diferentes?
Sim, utilizando vinculação baseada em marcadores (Método 2) ou o compositor. Por exemplo, fotogramas 1–50 fazem rendering da Camera A, fotogramas 51–100 da Camera B.
Todas as Cenas Precisam de Partilhar os Mesmos Materiais e Objetos?
Para o método baseado em cenas, sim. Utilize « Link Objects » ao criar cenas para partilhar geometria e materiais.
Que Formato de Saída Devo Utilizar para Renderizações de Múltiplas Câmaras?
Utilize EXR para trabalho profissional (preserva profundidade de cor e AOVs) ou PNG para web/pré-visualização.
Posso Fazer Rendering de Múltiplas Câmaras com Motion Blur ou Profundidade de Campo?
Sim. Motion blur aplica-se por rendering, portanto cada rendering de câmara inclui o seu próprio motion blur se ativado. Profundidade de campo é específica da câmara.
Como Lidar com Animações de Câmara (câmara em movimento) em Múltiplas Câmaras?
Se as câmaras forem animadas, cada cena fará rendering da animação da sua respetiva câmara. Outras cenas fazem rendering das suas próprias animações de câmara independentemente.
Artigos Relacionados
Para mais sobre otimização de rendering no Blender, consulte o nosso guia abrangente sobre « configuração de render farm em nuvem ». Cobrimos também soluções de rendering no nosso « guia de problemas comuns de rendering ».
Para envio em nuvem, explore o nosso « guia de render farm em nuvem do Blender » para aprender sobre funcionalidades suportadas, rendering em lote na Super Renders Farm e dicas de otimização.