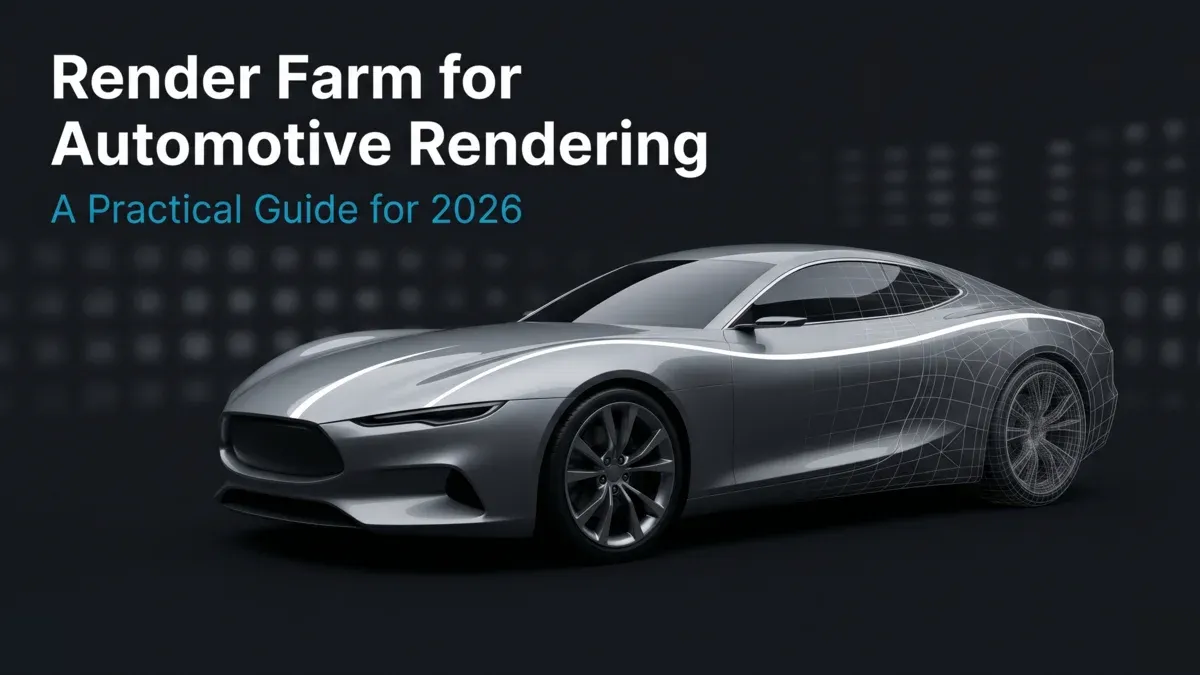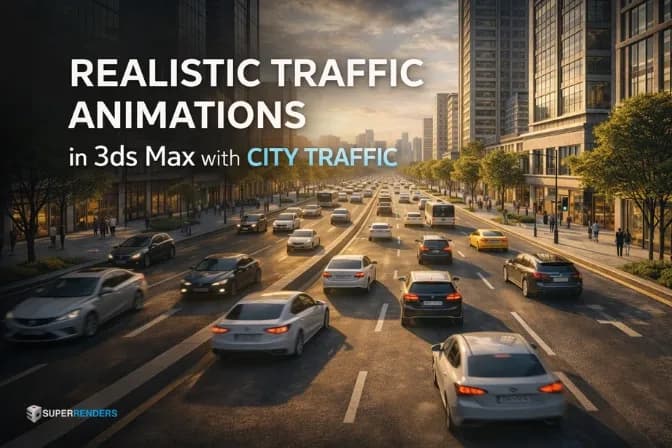
How to Create Realistic Traffic Animations in 3ds Max with City Traffic
Overview
Traffic animation plays a major role in modern architectural visualization. A city scene with moving vehicles instantly feels more alive and believable compared to a static environment. When viewers see cars driving through streets, stopping at intersections, or flowing through highways, they can better understand the scale and activity of the urban environment.
However, animating vehicles manually inside 3ds Max quickly becomes impractical. Even a small city block may require dozens of vehicles moving at different speeds and reacting to each other. Traditional path animation methods can handle a few vehicles, but they struggle to simulate real urban traffic.
This is where 3ds Max traffic simulation systems become essential. Instead of manually animating every vehicle, artists can build a logical traffic environment where vehicles behave automatically.
One of the most popular tools for this purpose is the City Traffic plugin, developed by iCube R&D. The plugin introduces an AI-driven traffic system where vehicles act as independent agents. Each vehicle can accelerate, slow down, follow lanes, react to traffic lights, and navigate intersections.
For archviz studios producing city fly-through animations, infrastructure presentations, or urban planning visuals, this approach allows large traffic scenes to be generated efficiently.
Understanding the Traffic Simulation Workflow
City Traffic works differently from traditional animation tools. Instead of animating vehicles directly, artists first build a traffic system that defines how vehicles behave.
Core Workflow of City Traffic
A typical 3ds Max traffic simulation pipeline includes several stages.
First, the road network is created using splines. These splines define the logical paths that vehicles will follow.
Second, lane structures are generated using the Road modifier. This modifier converts simple splines into multi-lane traffic systems with directional control.
Third, vehicles are added to the system and configured with behavioral parameters such as speed and acceleration.
Fourth, the simulation engine calculates how vehicles interact with each other and with traffic rules placed in the scene.
Finally, the animation is baked into keyframes so it can be rendered or exported.
This workflow allows hundreds of vehicles to be simulated without manually animating each one.
Preparing Road Splines for Traffic Simulation
Road splines are the foundation of any traffic simulation. Each spline represents a road segment that vehicles will use to navigate the environment.
Artists typically begin by drawing splines that follow the centerline of each road. Once these splines are created, the Road (WSM) modifier is applied.
This modifier defines several critical parameters including:
- lane width
- number of lanes in each direction
- road offsets
- traffic direction
These settings determine how vehicles distribute across the road network.
Road splines must also match the terrain of the environment. In scenes with hills or elevation changes, artists often project splines onto terrain surfaces to ensure vehicles follow the road correctly.

3ds Max viewport showing a spline-based road network with the City Traffic Road modifier applied to define lane structure
Setting Up Vehicles for Traffic Animation
After the road system is created, the next step is preparing vehicles that will participate in the traffic simulation.
Assigning Vehicle Assets
City Traffic requires vehicles to follow a specific structure so that the AI system can control movement correctly.
Each vehicle must include:
- one body object
- four or six wheel objects
The orientation of these objects is important. The local Y-axis of the vehicle body must face forward, while the local X-axis of each wheel should point outward. This orientation allows the system to calculate steering and suspension movement correctly.
The plugin includes a vehicle setup utility that automatically assigns the necessary controllers once the components are selected.
Artists often build a small library of vehicles including cars, buses, and trucks to populate different parts of the road network.

City Traffic vehicle asset structure showing a body and four wheel objects with correct Y-axis-forward orientation for AI simulation
Controlling Vehicle Speed and Flow
Once vehicles are integrated into the system, several parameters control how they behave on the road.
The most important settings include acceleration, maximum speed, and maneuver speed.
Acceleration determines how quickly a vehicle reaches its target speed. Sports cars may accelerate quickly, while trucks move more gradually.
Maximum speed defines the top speed the vehicle can reach on straight roads.
Maneuver speed controls how fast the vehicle can take corners or navigate intersections.
These parameters allow artists to simulate different driving styles within the same scene.
Avoiding Vehicle Collisions in Traffic Simulation
City Traffic uses AI scanning systems to detect nearby vehicles and obstacles. Each vehicle constantly checks the space in front of it and adjusts its behavior accordingly.
When a vehicle approaches another car, it automatically reduces speed to maintain a safe distance. If the road ahead becomes clear, the vehicle accelerates again.
This behavior creates a natural flow of traffic where vehicles adapt to each other dynamically.
Creating Realistic Urban Traffic
Realistic traffic depends on variation. If every vehicle moves at the same speed and distance, the animation quickly looks artificial.
Traffic Density Settings
Traffic density determines how crowded a road appears.
Higher density values generate more vehicles within a road segment, while lower values create lighter traffic.
In archviz scenes, density is usually adjusted depending on the type of road. Highways often contain heavier traffic, while residential streets contain fewer vehicles.
Balancing density is important because extremely dense traffic can slow down the simulation and make scenes harder to manage.

City Traffic density settings controlling vehicle distribution across highway, urban, and residential road segments in an archviz scene
Handling Intersections and Terrain
Intersections require careful coordination because vehicles must interact with traffic rules and vehicles from other directions.
City Traffic includes the Cross (WSM) modifier, which helps generate standard intersections automatically. This modifier connects road splines and defines turning paths for vehicles.
Artists can enable or disable certain turns and adjust speed limits within the intersection zone.
Traffic lights are also used to control vehicle movement. These lights operate on cycle diagrams that define when vehicles are allowed to pass.
Terrain adaptation is another important aspect of traffic realism. When roads follow slopes or bridges, vehicles adjust their suspension automatically based on the surface below them.

City Traffic Cross (WSM) modifier connecting road splines at an intersection with turning path and traffic light configuration
Randomizing Vehicle Behavior
One of the most common problems in traffic animation is repetitive movement. If all vehicles behave identically, the scene quickly feels artificial.
Speed and Driving Style Variation
Artists usually create several vehicle templates with slightly different parameters.
Some vehicles accelerate quickly, while others move more slowly. This variation creates natural traffic waves where faster vehicles occasionally catch up with slower ones.
Different maneuver settings also influence how aggressively vehicles take turns.
Vehicle Distribution Across the City
Another technique for improving realism is distributing different vehicle types across the road network.
Urban streets often contain smaller passenger cars, while highways include trucks and buses.
By mixing vehicle types and behaviors, artists can produce traffic patterns that resemble real urban environments.
Baking and Exporting Traffic Animation
Once the simulation behaves correctly, the animation must be converted into a format suitable for rendering or export.
Baking Traffic Simulations
Baking converts the AI simulation into standard keyframe animation. During this process, the plugin calculates the position and rotation of every vehicle component for each frame of the timeline.
This step is important because it allows the animation to be rendered on machines that do not run the full simulation.
City Traffic also compresses animation data during baking, reducing unnecessary keyframes on straight road sections while preserving detailed motion during turns.
Exporting Traffic Sequences from 3ds Max
After baking, the animation can be exported to other applications or game engines.
FBX is the most common format used for exporting traffic animations.
When exporting, artists typically enable the Bake Animation option to ensure compatibility with real-time engines such as Unreal Engine or Unity.
Increasing the sampling step during export can also help prevent small animation vibrations in the final result.
Preparing Traffic Scenes for Rendering
Large traffic scenes can quickly become heavy due to the number of vehicles involved.
Hundreds of high-polygon car models can significantly slow down both viewport performance and rendering.
To manage this complexity, archviz studios often rely on optimization techniques such as:
- using low-poly vehicles during simulation
- replacing them with proxy models during rendering
- instancing repeated assets
These methods keep the working scene responsive while preserving high visual quality in final renders.
For large animation projects such as city fly-throughs with thousands of frames, studios frequently rely on cloud rendering solutions. Services like Super Renders Farm provide distributed rendering for heavy 3ds Max scenes, allowing animation frames to be rendered much faster than local workstations. Proper scene preparation and asset organization become crucial when submitting these projects to farm rendering.
More information about rendering large 3ds Max animation projects can be found at Super Renders Farm 3ds Max Cloud Rendering.
Common Beginner Mistakes in Traffic Simulation
Even with powerful tools like City Traffic, beginners often encounter several common problems.
Incorrect spline setup is one of the most frequent issues. Poorly structured road splines can cause vehicles to stop or behave unpredictably.
Another common mistake is using too many vehicles in the scene. Extremely dense traffic can slow simulations and create unnecessary complexity.
Lack of behavioral variation can also reduce realism. If all vehicles move with identical speeds and spacing, traffic appears robotic.
Finally, heavy vehicle models can make the scene difficult to work with. Using optimized models during simulation is usually a better approach.
FAQ: Traffic Animations with City Traffic
Q: How many vehicles can City Traffic simulate simultaneously? A: City Traffic can handle hundreds or even thousands of vehicles depending on system RAM and spline complexity. Most archviz studios simulate 200-800 vehicles in a single scene without performance issues during baking.
Q: What's the best way to prepare my scene for render farm submission? A: Bake all traffic animations first, export reference geometry if needed, and organize all textures and maps into a single project folder. Ensure all external references use UNC network paths. Remove the simulation setup before submitting—the farm only needs the baked keyframe animation.
Q: Can I render City Traffic scenes with V-Ray or Corona Renderer? A: Yes. Once traffic is baked into keyframes, you can render with any 3ds Max renderer. V-Ray and Corona are fully compatible. The plugin itself is only used during the simulation and baking phase.
Q: How do I make traffic animations look more realistic with varied speeds? A: Create multiple vehicle templates with different speed and acceleration parameters. Some vehicles should be set to lower acceleration and maximum speed values, while others are more aggressive. Mix these templates throughout your road network.
Q: Should I simulate my entire city scene at once or break it into smaller sections? A: For complex city layouts, breaking into manageable sections (e.g., one city block at a time) often works better. This reduces simulation time and makes it easier to control traffic flow. You can combine simulations later if needed.
Q: What resolution should my vehicle models be for best results? A: For viewport work and simulation, keep vehicles at 10,000-50,000 polygons. During baking, the actual geometry isn't essential—only the animation matters. You can use much higher-resolution replacement models during final rendering using proxy objects or model replacement.
See Also
External Resources
Last Updated: 2026-03-18
About Thierry Marc
3D Rendering Expert with over 10 years of experience in the industry. Specialized in Maya, Arnold, and high-end technical workflows for film and advertising.