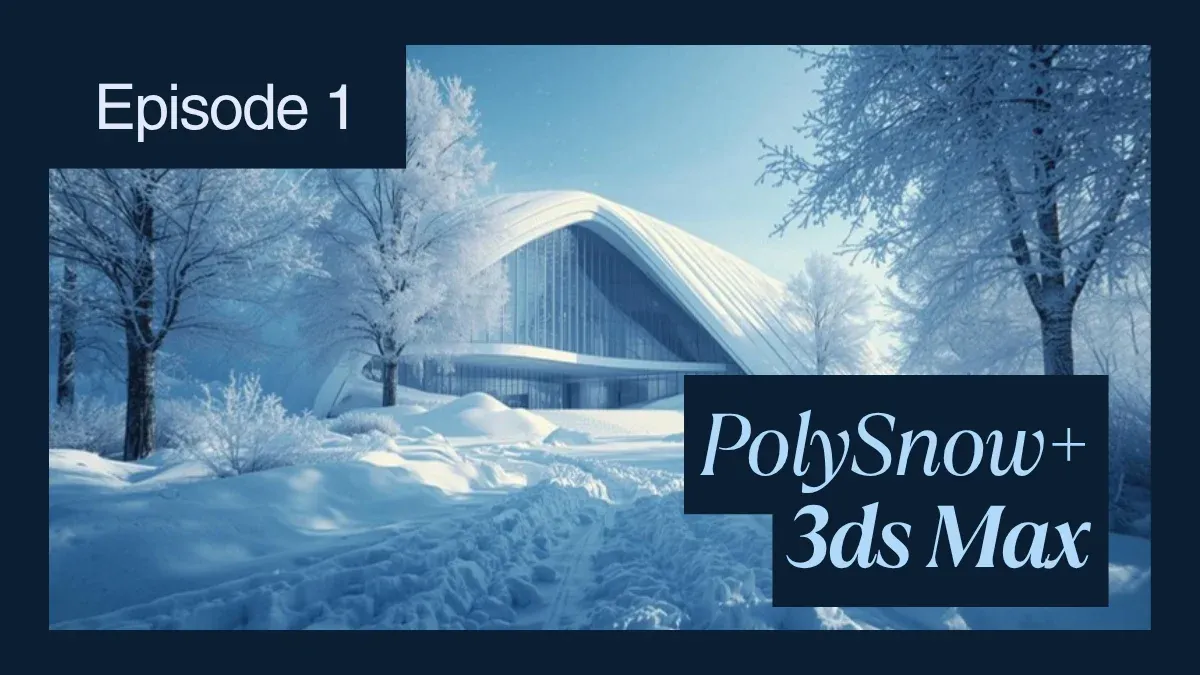
PolySnow Plus plugin for 3ds Max
Overview
Introduction: Snow as a Production Challenge
Snow is deceptively difficult. Beginners see it as "white geometry," but production snow requires:
- Procedural particle systems that respect surface topology
- Layered materials with subsurface scattering and transparency
- Particle-to-mesh conversion without geometry explosion
- Farm-safe asset organization and render optimization
This guide covers the complete workflow: PolySnow+ for geometry, V-Ray and Corona material setup, and render farm deployment strategies we've used across 300+ winter visualization projects.
PolySnow+ Plugin: Procedural Snow Geometry
PolySnow+ (released by Poly Design in 2025) is a high-performance snow generation tool. It replaced the previous MaxScript version with a fully compiled C++ engine, delivering 50-100x speedup.
Core Components:
PS_Particles Object:
This is the foundation. It generates particle systems on input surfaces, simulating snow accumulation physics.
- Add a new object: Create > Geometry > PolySnow > PS_Particles
- In the viewport, click on your target geometry (building facade, tree branch, ground plane)
- Configure accumulation:
Coverage: 0-100% (higher = more snow)
Thickness: 0.01-5.0 units (depth of snow layer)
Slope Angle: 0-90° (controls where snow sticks; 90° = only horizontal surfaces)
Randomness: 0-100% (variability across surface)
Critical: Set Slope Angle correctly. For a snowy roofline, use 10-20°. For a uniformly-covered ground plane, use 80-90°. Realistic snow accumulates on nearly-horizontal surfaces; vertical facades receive minimal coverage.
PS_Mesher Object:
After generating particles, the mesher converts the point cloud into renderable geometry:
- Create > Geometry > PolySnow > PS_Mesher
- Drag-and-drop the PS_Particles object onto the mesher's "Input Object" slot
- Adjust mesher parameters:
Particle Size: 0.5-3.0 (larger = thicker snow clumps)
Mesh Density: 0.5-2.0 (vertex count; higher = smoother but slower)
Smooth Iterations: 0-5 (smoothes the mesh; higher = more processing)
The mesher converts particles into a single optimized mesh. Unlike naive approaches (using particles directly), the mesher eliminates overdraw and produces farm-render-friendly geometry.
PS_Icicle Object:
For hanging icicles on architectural elements:
- Create > Geometry > PolySnow > PS_Icicle
- Set input to your snow-covered object (the meshed geometry)
- Configure icicle parameters:
Icicle Height: 0.5-10.0 units
Icicle Density: 0-100%
Taper Angle: 5-30° (icicle pointiness)
Random Variation: 0-100%
Icicles hang naturally from horizontal edges and snow-covered ledges. For realistic architectural visualization, layer icicles on building cornices and gutters.
PS_Flakes Object:
Animated floating snow particles (requires particle system renderer):
- Create > Geometry > PolySnow > PS_Flakes
- Set animation parameters:
Particle Count: 1000-50000 (more = denser snowfall)
Wind Force: -1.0 to 1.0 (X-axis wind direction)
Vertical Speed: 0.1-2.0 (falling speed)
Spin Speed: 0-5 (rotation during fall)
PS_Flakes creates a particle system, not geometry. Use a Particle System material for rendering (see Material Setup section below).
PS_FastSnow Object:
For lightweight snow without particles:
- Create > Geometry > PolySnow > PS_FastSnow
- Point to target surface
- Set snow depth
PS_FastSnow extrudes the surface directly, mimicking snow without particle overhead. Useful for simple scenes where realistic snow physics aren't critical.
PolySnow Modifiers: Art Direction & Sculpting
After mesh generation, modifiers provide creative control:
FluffySnow Modifier:
Applied to the meshed geometry to add surface irregularity:
- Select your PS_Mesher object
- Modify > Add Modifier > PolySnow > FluffySnow
- Parameters:
Fluffiness: 0.1-2.0 (bumpy texture)
Scale: 0.5-3.0 (size of bumps)
Randomness: 0-100%
FluffySnow adds procedural noise, breaking up flat snow surfaces. Essential for realism.
SnowSculpt Modifier:
Brush-based sculpting for manual refinement:
- Apply SnowSculpt to your meshed geometry
- In Modify panel, enable "Sculpt Mode"
- Sculpt directly on the viewport:
- Raise brushstrokes (paint upward) → adds snow
- Lower brushstrokes (paint downward) → reveals underlying geometry
Comes with built-in alpha brushes: tire tread, footprints, rain grooves. Paint footprints in snow for dramatic effect in archviz.
PolyPrint Modifier:
Animated procedural prints (footprints, shadows):
- Apply PolyPrint to your snow surface
- Configure:
Print Shape: Footprint, Tire, Custom
Animate: On (prints change over time)
Density: 0-100%
Keyframe PolyPrint density over your animation timeline. At frame 1, density = 0 (clean snow). By frame 100, density = 50% (footprints appear). This creates the illusion of time passing—crucial for hero shots and animations.
SnowNoise Modifier:
Procedural noise different from standard 3ds Max Noise:
- Add SnowNoise to your mesh
- Configure:
Noise Type: Fractal, Cell, Wave
Scale: 0.5-5.0
Intensity: 0-100%
SnowNoise operates in surface-normal space (not world space), so rotated surfaces get consistent texture.
V-Ray Material Setup for Snow
PolySnow geometry is only valuable with proper shading. V-Ray rendering requires a multi-layer approach.
Layer 1: Diffuse Base
- Assign a V-Ray Material to your snow mesh
- In Diffuse channel, set color to near-white: RGB(230, 235, 240) — not pure white (RGB 255, 255, 255), which photographs unnaturally
Pure white overexposes in renders; slightly-tinted white matches real snow's subtle blue/gray undertone.
- Diffuse Multiplier: 0.9 (snow is not 100% diffuse)
Layer 2: Subsurface Scattering
Snow is slightly translucent. Light penetrates the surface, scatters, and emerges, creating a glowing effect on thin edges and backlighting.
- Add a V-Ray VRaySubsurfaceScattering material (secondary layer)
- Configure:
Thickness Map: Connect a lighter grayscale texture (thickness = how much light penetrates)
Scatter Color: RGB(200, 220, 255) (cool blue tint for subsurface)
Scatter Coefficient: 5.0-20.0
Ray Traced SSS: On (for physical accuracy)
Enable ray-traced subsurface scattering—it's slower but produces superior backlighting results for closeup snow.
Layer 3: Normal Map
- In Reflection/Bump channel, add a Normal Map
- Source: Connect a SnowNoise texture or tileable snow normal map
- Normal Map Strength: 0.3-0.8 (controls surface roughness intensity)
Snow surface detail primarily comes from normals, not displacement. Displacement adds geometry (expensive); normals are computationally cheap.
Layer 4: Reflection (Glossiness)
- Add a Reflection layer
- Reflection Color: RGB(200, 200, 200) (gentle, 10-15% reflection)
- Glossiness: 0.7-0.9 (slightly rough; pure 1.0 is unrealistic mirror-like)
Real snow is matte, not shiny. Overly-glossy snow looks plastic.
Complete V-Ray Material Stack:
| Layer | Component | Settings |
|---|---|---|
| Diffuse | RGB(230, 235, 240) | Multiplier: 0.9 |
| Subsurface | VRaySSS (blue scatter) | Ray-traced on |
| Bump | SnowNoise Normal | Strength: 0.5 |
| Reflection | RGB(200, 200, 200) | Glossiness: 0.8 |
Corona Renderer: Snow Material Setup
Corona's workflow is similar but uses different terminology.
Corona VRayMtl Snow Setup:
- Assign a Corona material
- Base Color: RGB(235, 240, 245)
- Roughness: 0.3 (inverse of V-Ray glossiness; 0.3 = fairly rough)
- Displacement: Connect SnowNoise texture at 0.1-0.3 intensity (Corona handles displacement natively)
- Subsurface Scattering: Enable, set scatter color to cool blue
Corona is faster than V-Ray for snow scenes—simpler material setup with equivalent visual results.
Key Difference from V-Ray:
Corona applies Fresnel reflection automatically (snow is less reflective at glancing angles). V-Ray requires manual adjustment. For quick renders, Corona is superior.
Forest Pack for Scattered Snow Objects
For snow with objects (rocks, debris, vegetation), use Forest Pack:
- Create > Geometry > Forest Pack
- Add your object (rock, log, branch)
- In Forest Pack UI, enable snow variant:
Scatter Mode: Surface Scatter
Object: Your snow object (PS_Mesher)
Density: 0-100%
Random Rotation: On
Random Scale: 0.8-1.2
Forest Pack distributes snow-covered objects across terrain, essential for complex winter landscapes.
Render Farm Optimization for Snow Scenes
Heavy snow scenes can explode polygon counts and memory usage. Farm submission requires preemptive optimization.
Polygon Count Management:
- Single snow-covered building: 500K-2M polygons (PS_Mesher output)
- Complex landscape with icicles + scattered objects: 20M-50M polygons
- Farm render time scales with polygon count; 50M polygons = 40-60% slower than 10M
Optimization Strategies:
- LOD (Level of Detail) Proxy:
For distant snow-covered buildings, use low-res proxies:
Hero building (closeup): Full geometry from PS_Mesher + modifiers
Distant buildings: Simplified static snow shape (no particles, modifiers disabled)
- Texture-Only Approach:
Instead of geometry for background snow, use normal maps projected onto simple planes. Visually similar, 100x faster.
- Flatten Snow Geometry:
After sculpting with SnowSculpt:
- Collapse PolySnow modifiers to a single mesh
- Export as FBX (not .max)
- Re-import FBX as static geometry
This removes procedural dependencies and prevents farm nodes from re-computing snow on every render.
Memory Footprint:
- Raw PolySnow mesh: 50-200 MB per object
- Textures (normal, displacement, AO): 100-300 MB
- Subsurface scattering cache: varies (disable if memory-constrained)
For render farms with 32 GB VRAM per machine:
Safe snow scene: <4GB total assets
Heavy snow scene: 4-8 GB (requires GPU or high-RAM CPU nodes)
Extreme (icicles + particles): 8-16 GB (single GPU machine or CPU cluster)
Real-World Case: Winter Archviz Campaign
A architectural visualization studio we work with created a winter holiday campaign: 12 building shots in fresh snow.
Challenge: Using PolySnow naively resulted in 80M+ polygons per frame, 6+ hours render time each.
Solution:
- Hero building (foreground): Full PolySnow + sculpting
- Mid-ground buildings: PolySnow with lower particle coverage + no icicles
- Background buildings: Flat geometry with snow normal maps (no PolySnow)
- Particles (falling snow): PS_Flakes optimized to 5,000 particles (not 50,000)
- Flattened geometry before farm submission
Result:
- 12 frames × 4K resolution completed in 180 minutes total (across 60 cores)
- Individual frame time: 15 minutes (vs 6+ hours originally)
- Visual quality maintained—hero detail visible, backgrounds simple but believable
FAQ
Q: How realistic can PolySnow look compared to hand-sculpted snow? A: With SnowSculpt touch-up and proper materials, PolySnow is indistinguishable from manual sculpting for production renders. The advantage: procedural generation takes minutes vs hours.
Q: What's the overhead of subsurface scattering in V-Ray? A: Ray-traced SSS adds 20-40% render time. For archviz with backlighting (winter sun through snow), it's worth it. For simple setups, skip it.
Q: Can I animate PS_Particles? A: Yes. Keyframe Thickness and Coverage over time. Creates the illusion of snow accumulating or melting. Use for time-lapse animations.
Q: Should I use displacement or normals for snow surface detail? A: Normals are vastly cheaper. Use displacement only if you need macro-detail (footprints, grooves) visible in extreme closeup. Otherwise, normals suffice.
Q: How do I avoid snow texture repetition on large surfaces? A: Use multiple noise textures with different scales and blend them (mixing small + medium + large noise). PolySnow modifiers (SnowNoise) automate this.
Q: Can I render snow with both V-Ray GPU and CPU? A: Yes. V-Ray GPU is 2-3x faster for simple materials but struggles with ray-traced SSS. Complex snow (with subsurface) on GPU may timeout; CPU is more stable.
Q: What if my snow geometry is too heavy for the farm? A: Decimate or remesh. Use 3ds Max's ProOptimizer to reduce polygon count 30-50% with minimal visual loss. Test on a hero frame before full submission.
Q: How do I handle snow + water reflections (icy surfaces)? A: Add a secondary material with higher glossiness (0.95+) and white color (RGB 240, 245, 250). Blend it with the main snow material using a mask texture.
Related Resources
Learn about material optimization for render farms:
Explore advanced 3ds Max techniques for production:
Discover render farm strategies for complex scenes:
External Resources
For PolySnow+ documentation and tutorials: