DECALmachine cho Blender: Hướng Dẫn Cài Đặt và Quy Trình Hoàn Chỉnh
Tổng quan
Giới Thiệu
Chi tiết bề mặt giúp phân biệt render chân thực khỏa những mô hình 3D đơn điệu, chung chung. Dekal—những hình chiếu nhiều lớp của kết cấu, mẫu hao mòn và các phần tử đồ họa—là cách thực tiễn nhất để thêm sự sống vào hình học hard-surface mà không cần subdivide mesh hay baking các bản đồ độ phân giải cao. DECALmachine, được phát triển bởi Machin3, là addon Blender chuẩn công nghiệp cho phép chiếu dekal và quản lý, và chúng tôi sử dụng nó rộng rãi trên các quy trình render farm của mình.
Trong hướng dẫn này, chúng tôi sẽ đi qua cài đặt DECALmachine, các loại dekal cốt lõi, quy trình làm việc thực tiễn để áp dụng dekal vào mô hình, quản lý atlas và trim sheet, các xem xét rendering và các mẫu tích hợp cho quy trình sản xuất.
Tại Sao Dekal Quan Trọng trong Quy Trình Render Farm
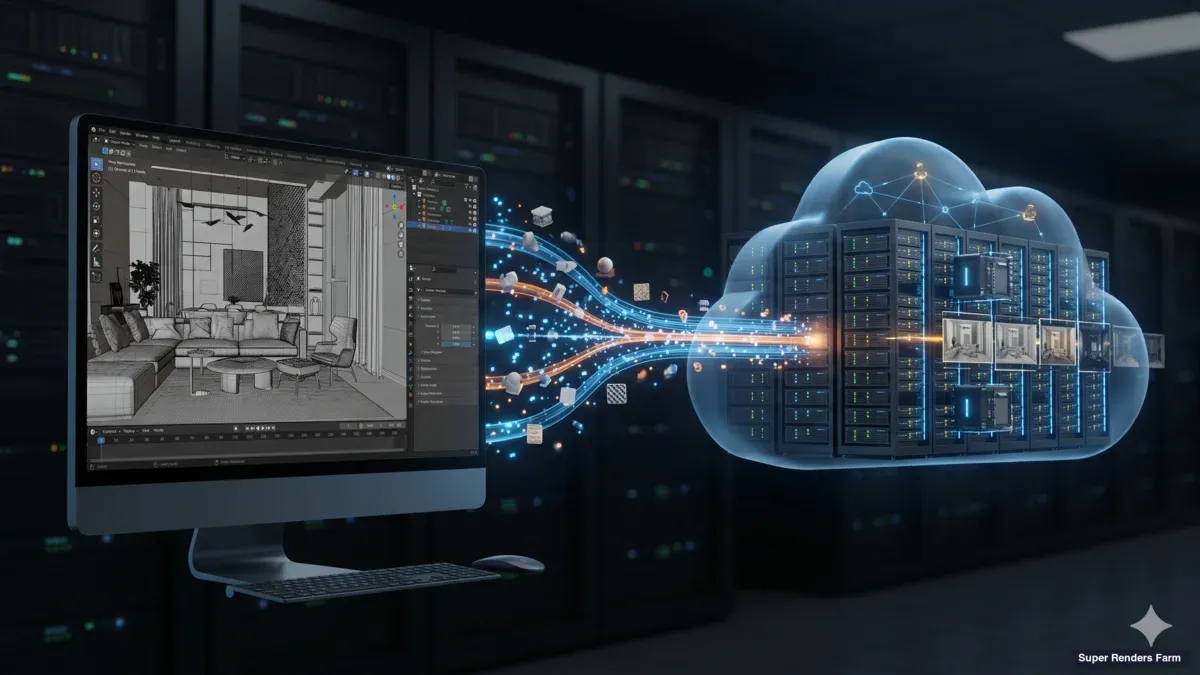
Dekal giải quyết một vấn đề quan trọng: thêm chi tiết bề mặt phong phú mà không cần phức tạp hình học hay UV. Khi gửi công việc tới render farm như của chúng tôi, sử dụng dekal hiệu quả có nghĩa là thời gian rendering nhanh hơn và quy trình asset sạch hơn.
Cài Đặt và Tương Thích Blender
DECALmachine có sẵn trên Blender Market. Chúng tôi hỗ trợ Blender 4.0 trở lên, khuyên dùng 4.1+.
Các bước cài đặt:
- Tải xuống từ trang DECALmachine của Blender Market.
- Trong Blender, đi tới Edit → Preferences → Add-ons.
- Nhấp vào Install và chọn
.zip. - Bật DECALmachine.
Hiểu Các Loại Dekal
Simple Decals — hình chiếu ảnh đơn. Subset Decals — nhắm mục tiêu các khe cụ thể của hình học/vật liệu. Panel Decals — nhận thức hình học, theo dõi các đường panel. Info Decals — nhúng siêu dữ liệu.
Quy Trình Làm Việc Cốt Lõi
Bước 1: Chuẩn bị mesh cơ sở. Bước 2: Duyệt thư viện. Bước 3: Chiếu. Bước 4: Hoàn thành (Ctrl+Enter). Bước 5: Xếp chồng dekal.
Trim Sheet và Quản Lý Atlas
Giảm bộ nhớ 50-80%. Xây dựng bằng công cụ đóng gói DECALmachine. Độ phân giải nhất quán, padding, đặt tên rõ ràng.
Rendering: Cycles vs EEVEE
Cycles: Chuẩn sản xuất. Chân thực, xử lý lớp. Khi gửi tới render farm của chúng tôi, các lớp dekal được giải quyết tại thời điểm rendering.
EEVEE: Xem trước nhanh hơn. Có thể có các tạo tác cạnh.
Mật độ: 3-8 trên mỗi mô hình. Vượt quá 10, sử dụng trim sheet.
Quy Trình Sản Xuất
Thư viện dùng chung, tập lệnh hàng loạt, bao gồm dokuent trong tải lên farm. DECALmachine là độc lập.
FAQ
DECALmachine có hoạt động với các mô hình không phải hard-surface không?
DECALmachine được tối ưu hóa cho hard surface, nhưng cũng hoạt động trên hình học organic.
Dekal có tăng kích thước tệp đáng kể không?
Không, dekal trong DECALmachine là vật liệu và Shader, không phải hình học bổ sung. Kích thước tệp .blend tăng rất ít.
Sự khác biệt giữa Simple Decals và Panel Decals là gì?
Simple Decals là hình chiếu phẳng, phù hợp cho logo hoặc vết hao mòn. Panel Decals nhận thức hình học và theo dõi các đường cạnh.
Có thể xuất dekal khi gửi tới render farm không?
Có, dekal vẫn nằm trong tệp .blend dưới dạng vật liệu. Không cần baking hay xử lý trước khi gửi tới render farm.
Làm thế nào để tạo thư viện dekal tùy chỉnh?
Tạo ảnh PNG hoặc EXR có kênh alpha, sau đó nhập vào DECALmachine qua bảng thư viện. Bạn có thể chia sẻ thư viện này giữa các dự án.
DECALmachine có hoạt động với API scripting của Blender không?
Có, DECALmachine cung cấp các toán tử thông qua bpy để tự động hóa.
Nếu xóa thư viện dekal khỏi ổ đĩa thì sao?
Các dekal hiện tại vẫn giữ lại trong tệp, nhưng bạn không thể thêm dekal mới từ thư viện đó.
Nhiều nghệ sĩ có thể làm việc trên dekal trong cùng tệp .blend không?
Có, với tính năng khóa tệp của Blender. Sử dụng Asset Browser để chia sẻ thư viện dekal giữa các thành viên nhóm.
Tóm Tắt
Tại Super Renders Farm, chúng tôi tận dụng DECALmachine cho trực quan hóa kiến trúc và render sản phẩm.